Share
12 August 2025
How to Cut Porcelain Tiles: Tools, Tips & Techniques
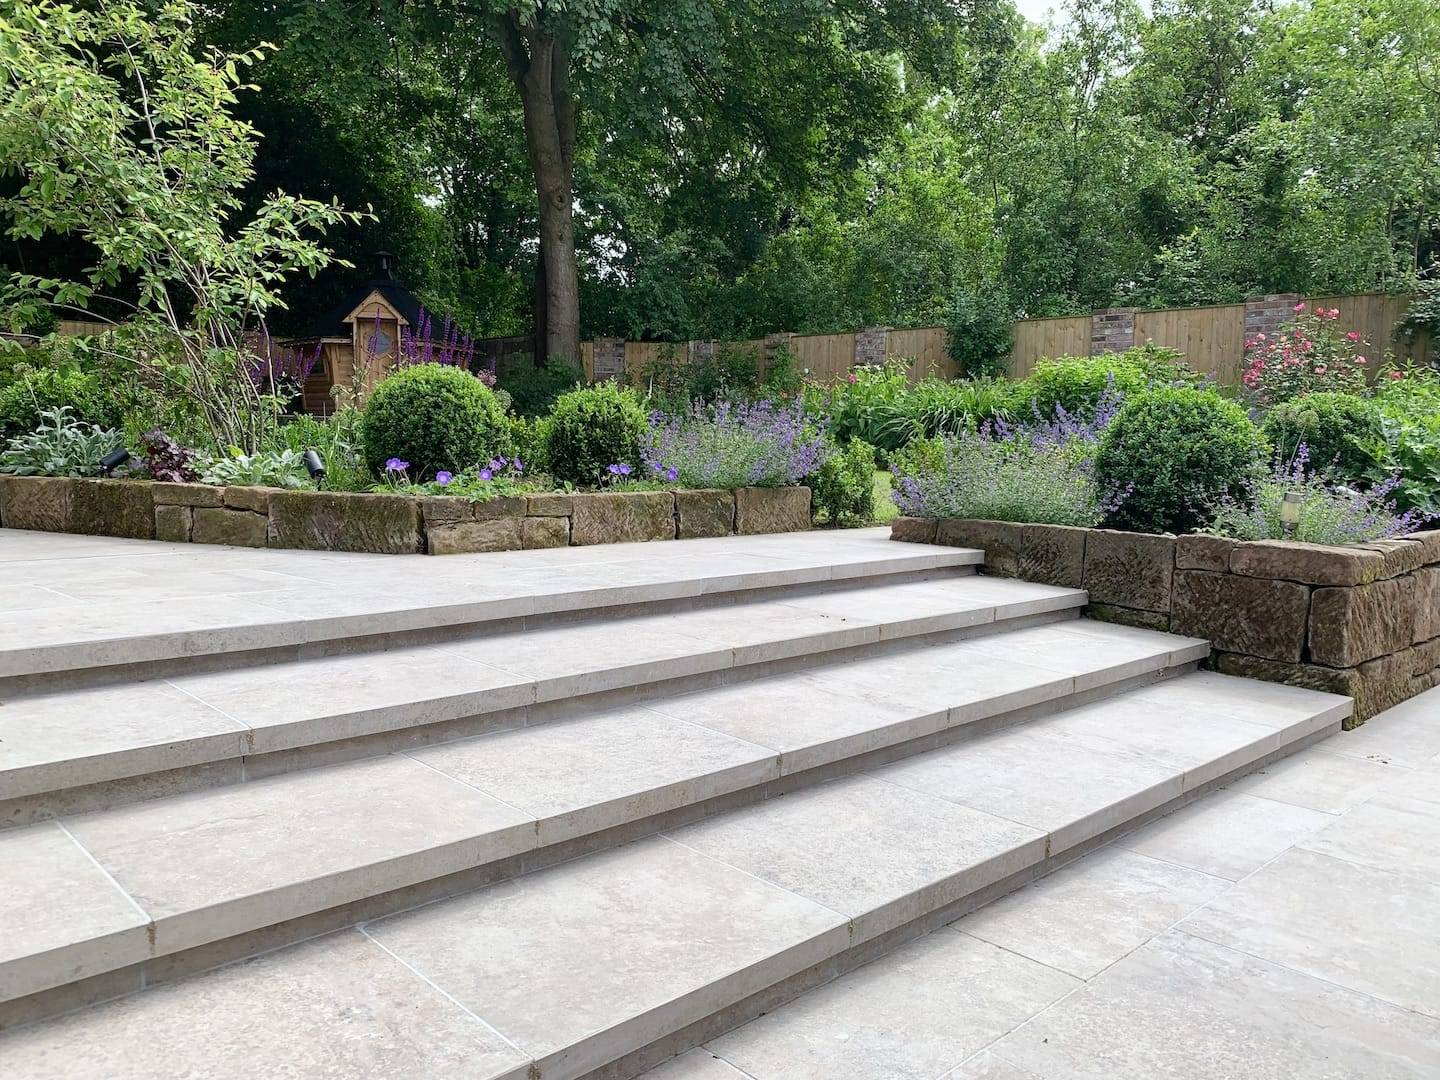
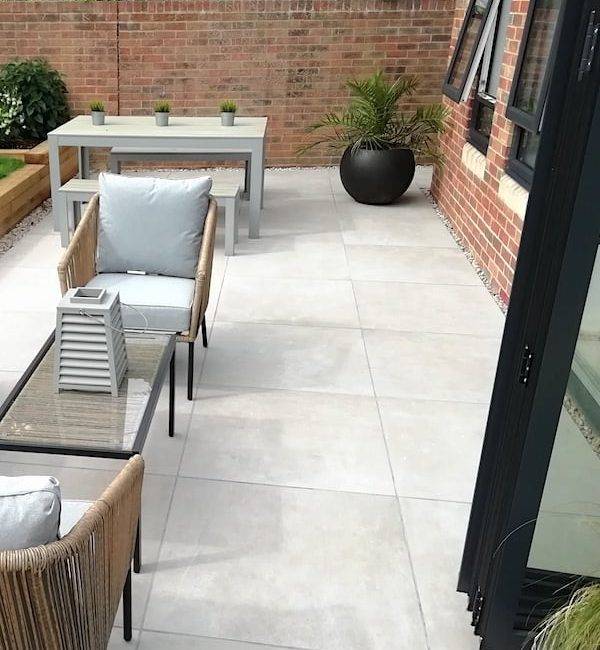
Here at Westminster Stone, we've dedicated ourselves to providing our customers with the highest quality garden paving and flooring solutions. We've seen trends come and go over our 40 years in business, but one material that has truly stood the test of time is porcelain paving. Its exceptional durability and stunning aesthetics make it a popular choice for everything from patios to kitchen floors. With some expert guidance from the Westminster Stone team, though, cutting porcelain tiles becomes much more manageable. Check out our laying guides for extra help planning your project. In this guide, we’ll explain the tools, techniques, and safety steps needed for a clean, professional finish, whether you’re a seasoned tradesperson or tackling a DIY tiling project. From fitting around awkward corners to achieving curved edges, precision is key to reducing waste and achieving a polished look.
What Makes Porcelain Tiles Difficult to Cut?
- Extreme Hardness and Density: Porcelain is one of the hardest materials used in modern paving. Standard tile cutters are often not up to the task; a diamond blade is usually essential to grind through the material.
- Glazed Surface: Many porcelain tiles have a glazed finish, which can be slippery and highly prone to chipping if the wrong cutting tools are used.
- Uniform Structure: Unlike natural stone, porcelain has no natural weak points to guide your cuts, meaning cuts need to be exact.
- No Hiding Edges: Grout cannot effectively hide poor, chipped, or uneven edges, so precision is key. Understanding the challenges is the first step to success:
How to cut, drill or resize porcelain slabs
Porcelain paving slabs and tiles have become a staple for both indoor and outdoor spaces, celebrated for their durability, low maintenance, and stunning aesthetics. The vitrification process makes them incredibly dense and resistant to moisture, but this very strength can make them a challenge to work with. Cutting, drilling, or resizing porcelain requires the right tools and techniques to ensure a perfect finish and avoid costly damage. As a company that prides itself on quality and craftsmanship, we're here to provide a definitive guide on how to handle your porcelain tiles with confidence.
Tools for Cutting and Drilling Porcelain Tiles
Using the wrong tools or rushing the process can lead to chipped edges, cracks, and a ruined tile. Choosing the right, high-quality equipment will make a significant difference to the final result.
| Tool | Purpose & Key Features |
| Wet Tile Saw | The go-to for precision and straight cuts. Uses a continuous rim diamond blade with water cooling to reduce dust and minimise chipping. |
| Manual Tile Cutter | Doable for straight cuts, but must be specifically designed for porcelain with a strong scoring wheel and durable cutting blade. |
| Angle Grinder | Ideal for curves, notched shapes, trimming edges, or cutting already-fixed tiles. Must be fitted with a diamond blade rated for porcelain. |
| Diamond Drill Bit | Essential for drilling holes for anchors or small fixtures. Use a diamond bit, not a standard masonry bit. |
| Diamond Hole Saw | For creating larger, clean circular holes, such as for pipework or outdoor features. |
| Tile Nipper | Useful for fine detail work, shaping around pipes, or removing small sections of tile. |
Preparation and Safety First
Good preparation leads to clean cuts and fewer mistakes.
Practice: If you’re new to tile cutting, practice on a spare tile first.
Stable Workspace: Work on a flat, stable surface that is well-ventilated.
Measure Twice: Double-check your layout measurements before marking your tiles.
Mark Clearly: Use a pencil or wax crayon with a straight edge to draw your cut line. Precision here prevents problems later.
Secure the Tile: Use clamps or a guide to keep the tiles stable during cutting.
Always Wear PPE: Safety glasses, gloves, and a dust mask are essential when working with hard tiles and electric cutters.
Cutting Porcelain Tiles
For a clean, professional cut, a wet saw is the recommended tool for porcelain paving tiles. The continuous rim diamond blade, lubricated by water, minimises chipping and reduces the amount of airborne dust. For straight, precise cuts, a manual tile cutter can also be effective, but only with a high-quality scoring wheel designed for porcelain.
Method 1: Using a Wet Saw with a Diamond Blade
This is the preferred method for most professionals. The wet saw's diamond blade, designed to grind through the porcelain patio tiles rather than chip it, provides the cleanest and most accurate results.
- Preparation: Always wear appropriate personal protective equipment (PPE), including safety goggles, gloves, and ear protection. Mark your cut line clearly on the tile. Fill the wet saw’s water tray to the required level to ensure the blade is continuously cooled.
- The Cut: Place the tile on the saw's bed, aligning your mark with the blade. Start the saw and, using gentle and consistent pressure, slowly push the tile through the blade. The water will act as a lubricant and coolant, preventing the tile and blade from overheating and cracking. Avoid forcing the tile through - let the blade do the work.
- Cooling: The water acts as a lubricant and coolant, preventing the tile and blade from overheating and cracking. Avoid forcing the tile—let the blade do the work.
Method 2: Using an Angle Grinder (Best for Curves and Notches)
An angle grinder with a dry-cutting diamond blade is an excellent choice for making curves or for cutting porcelain tiles that are already fixed in place.
- Preparation: Ensure your workspace is well-ventilated and you are wearing a dust mask in addition to your other PPE. Mark your cut line on the tile, and for extra precision and to prevent chipping, you can apply masking tape along the line.
- The Cut: Make a series of shallow, incremental cuts rather than one deep cut. This technique, known as "scoring," reduces the risk of chipping. Once the score line is established, you can gradually increase the depth of your cuts until you've gone all the way through.
- Finish: Once the score line is established, gradually increase the depth until you've gone all the way through.
Method 2: Manual Tile Cutter (For Basic Straight Cuts)
- Scoring: Score firmly along the marked line using a slow, even pressure with the scoring wheel.
- Snapping: Snap the tile cleanly along the scored line.
Step-by-Step: Drilling a Porcelain Tile
Drilling holes for pipes, outlets, or fixtures requires a delicate touch and the right drill bit. Using a hammer drill or a standard masonry bit will almost certainly result in a cracked tile.
Method 1: Using a Diamond Core Drill Bit
A diamond core drill bit is the best tool for the job. It’s designed to grind a clean, perfect circle through the porcelain tile's hard surface.
- Preparation: Mark the exact centre of your hole with a pencil. To prevent the drill bit from "wandering" or slipping, a small piece of masking tape over the mark can provide the initial grip.
- The Drill: Using a regular drill (with the hammer function turned off), start at a very slow speed and a slight angle to create an initial groove. Once the bit has a secure purchase, straighten the drill and continue drilling slowly. Crucially, you must keep the drill bit and the tile cool. You can do this by having a second person spray water on the area or by creating a small "dam" of putty around the hole to hold water.
Method 2: Using a Wax-Filled Diamond Drill Bit
Some modern diamond drill bits come with a wax lubricant in the core. As the bit heats up during drilling, the wax melts, cooling and lubricating the bit.
- Preparation: As with the previous method, mark your spot and use masking tape to prevent slipping.
- The Drill: Start drilling at a slow speed, allowing the bit to create a groove. Increase the speed to a moderate pace, but never use the drill's hammer function. The wax will do the cooling for you, so there's no need to add water. Just be sure to drill in short bursts and let the bit cool between holes.
By following these methods and using the right tools, you can ensure your porcelain garden project is a success. Taking your time and being prepared will protect your investment and result in a beautiful, flawless finish that will last for years to come.
Achieving the Best Finish
Cutting porcelain tiles might seem tricky, but with the right tools, techniques, and a little patience, you can get great results.Whether you’re refreshing a garden path or laying a full patio, planning and precision are your best tools. For tailored advice and high-quality porcelain slabs, explore our collection or visit a display centre.
5 Mistakes to Avoid When Cutting Porcelain Tiles
- Using the Wrong Blade: Always use a diamond blade or scoring wheel rated specifically for porcelain.
- Overheating the Blade/Bit: This causes cracking. Use water cooling (wet saw/spraying) or slow, steady cutting to reduce heat.
- Failing to Secure the Tile: Unstable tiles move and chip easily. Use clamps or a guide.
- Rushing the Job: Precision takes time. Fast cuts often mean poor, chipped results and wasted materials.
- Cutting Face-Down: Always cut your tiles face-up (glazed side up) to preserve the glaze and achieve a cleaner result.
Ready to start your next project?
Mastering the art of cutting and drilling porcelain garden paving is a matter of using the right tools and having a little patience. By choosing a quality diamond blade or drill bit and taking your time, you can confidently achieve a clean, professional finish on every tile. We hope this guide empowers you to tackle your porcelain project with confidence, ensuring a beautiful and lasting result.
Our Porcelain Paving Products
At Westminster Stone, we offer a wide range of porcelain slabs and tiles for gardens, patios, and interior floors.
All of our porcelain products are:
- Slip-resistant (R11 rating)
- Low absorption and frost-proof
- Available in a wide range of sizes and styles
You can explore our porcelain paving collection or visit one of our UK display centres to see our range of high-quality porcelain tiles in person and speak with our team
Explore our stunning range of porcelain paving and flooring to find the perfect style for your home.
FAQs
Do you cut porcelain tile wet or dry?
Wet cutting with a diamond blade is best, though dry cuts can work with the right tools.
Is porcelain harder to cut than ceramic tiles?
Yes. It’s denser and more durable, which makes it harder to cut cleanly.
Can I use an angle grinder on porcelain?
Yes, especially for small or curved cuts. Always use a diamond blade and go slow.
How can I stop chipping?
Use sharp tools, cut from the glazed side, and don’t rush.What tools are best for beginners?
Manual cutters work well for basic cuts, but a wet tile saw gives better results for larger areas.

About the Author
Sian McHugh
'Sian has been working with us at Westminster Stone for over 7 years and has developed expertise in garden design and landscaping. Her passion for nature extends to tending her own garden, teaching yoga and hiking during her free time.'