Share
11 May 2026
How to Lay Outdoor Porcelain Tiles
At Westminster Stone, we’ve spent over 40 years helping homeowners transform their outdoor spaces with premium paving. While our heritage is rooted in traditional Stonecast and natural stone, the rise of outdoor porcelain tiles has revolutionised modern garden design. Porcelain offers a sleek, contemporary aesthetic that is as practical as it is beautiful. However, because porcelain paving is significantly denser and less porous than the installation process requires a specific approach to ensure a professional, long-lasting finish. Whether you are a seasoned DIYer or looking to understand the process before hiring a contractor, this guide will walk you through exactly how to lay outdoor porcelain tiles.
Why Choose Porcelain Tiles for Outdoor Spaces?
Many homeowners ask - are porcelain tiles good for outdoors? The answer is a resounding yes. In fact, porcelain is one of the most durable materials available for the British climate. Unlike natural stone or traditional concrete paving, porcelain paving tiles are virtually non-porous. This means:
Frost Resistance: It won’t absorb water, preventing the cracking and "blowing" often seen in colder months.
Low Maintenance: It is highly resistant to moss, algae, and staining.
Fade Resistance: Its colours remain vibrant even under direct UV exposure.
Safety: Most outdoor porcelain features an R11 slip-rating, making it ideal for wet patios and pool surrounds.
Tools and Materials You’ll Need
To achieve a perfectly level patio with uniform joints, you’ll need the right kit:
Essential Tools
- Rubber mallet
- Spirit level (the longer, the better)
- Notched trowel
- Mixing paddle and drill
- Tile spacers (3mm to 5mm)
- Levelling clips (highly recommended for large format tiles)
- Wet saw with a diamond blade (for cutting)
Materials Checklist
- Porcelain Slabs: Ensure you have 10% extra for cuts and wastage.
- Bonding Primer (Slurry): Essential for adhesion.
- Outdoor Grade Adhesive or Mortar: Depending on your chosen laying method.
- MOT Type 1 Sub-base: For the foundation.
- Porcelain Grout/Jointing Compound: Designed specifically for external use.
✏️ Pro Tip: Never skip the primer. Because porcelain doesn't absorb moisture, it won't stick to a standard mortar bed without a quality bonding slurry.
Preparing the Surface
A stunning patio is 90% preparation. To ensure your tiles don't shift or crack over time, you need a stable, well-drained base.
- Excavation: Dig out the area to a depth of roughly 150mm–200mm.
- Sub-base: Fill with 100mm of MOT Type 1, compacting it thoroughly with a vibrating plate compactor (wacker plate).
- Drainage and Fall: Ensure the area has a slight "fall" (usually 1 in 60) to allow rainwater to run away from your home’s foundations.
How to Lay Outdoor Porcelain Tiles on Concrete
If you have an existing concrete pad that is structurally sound and level, you can lay porcelain paving directly onto it. This is a common method for balconies and refurbished terraces.
- Clean the Base: Ensure the concrete is free of grease, dust, and old paint.
- Prime the Concrete: Apply a bonding primer to the concrete surface.
- Apply Adhesive: Use a high-quality, flexible outdoor tile adhesive. Spread it evenly using a notched trowel to create "ribs" that allow air to escape.
- The "Butter" Method: Apply a thin layer of primer to the back of the porcelain tile itself before laying.
- Positioning: Place the tile and use a rubber mallet to tap it into place. Use levelling clips and spacers to maintain perfectly even lines.
- Curing: Allow at least 24 hours for the adhesive to set before walking on the surface.
Cutting and Positioning Porcelain Tiles
Outdoor porcelain is incredibly hard. To get clean, professional cuts:
- Use a Wet Saw: A bridge saw with a continuous rim diamond blade is the gold standard. The water keeps the blade cool and prevents the tile from shattering.
- Layout Planning: Before you mix any mortar, dry lay your porcelain tiles. This helps you decide between a modern grid layout or a traditional staggered (offset) joint and ensures you aren't left with tiny slivers of tile at the edges.
- Safety First: Always wear eye protection and a dust mask when cutting.
Grouting and Finishing Touches
Once your adhesive has fully cured, it’s time to fill the joints.
- Choose the Right Grout: Use a dedicated external porcelain grout or a brush-in jointing compound. These come in various shades - we recommend matching the grout to the tile for a seamless, infinity look.
- Application: Work the grout into the joints, ensuring no voids are left.
- The Clean-Up: Porcelain is easy to clean, but grout can be stubborn if it dries on the surface. Wipe away excess residue with a damp sponge as you go.
Maintenance and Long-Term Care
One of the reasons our customers love Westminster Stone porcelain is how little work it requires in terms of maintenance. Follow these steps to keep it looking as fresh as the day it was laid:
- Regular Sweeping: Keeps leaves and debris from sitting on the surface.
- Occasional Wash: A simple bucket of warm soapy water and a stiff brush will keep it looking brand new.
- Avoid Pressure Washers: While porcelain paving can handle the pressure, your grout lines might not. Keep the nozzle at a safe distance and use a wide fan setting.
Common Mistakes to Avoid
- Skipping the Slurry: As mentioned, porcelain tiles will not bond to mortar without a primer.
- Laying on Dots: Never use the "spot and dab" method. This leaves hollow voids under the tiles which can lead to cracking and loose slabs.
- Ignoring Expansion Gaps: Always leave a 3mm–5mm gap between tiles to allow for thermal expansion.
Final Thoughts - Create a Lasting Outdoor Space
Laying outdoor porcelain tiles is a meticulous process, but the results are unparalleled. By following these steps, you’ll create a sleek, durable, and sophisticated space that serves as a true extension of your home.
At Westminster Stone, we pride ourselves on providing not just the materials, but the expertise to see your project through to completion.
Ready to start your transformation?
Shop Outdoor Porcelain Tiles
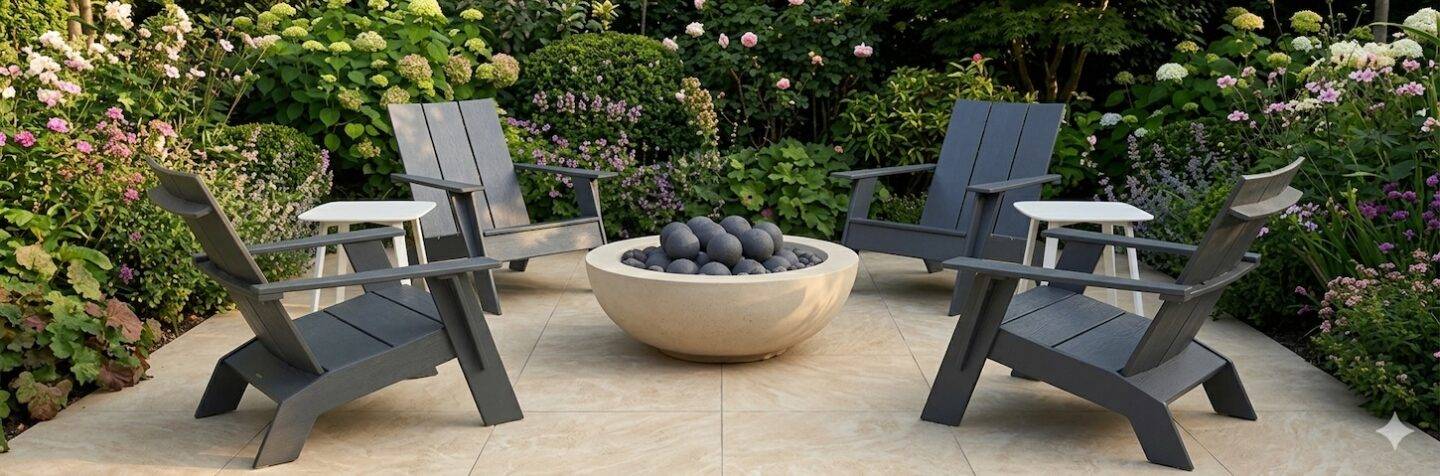
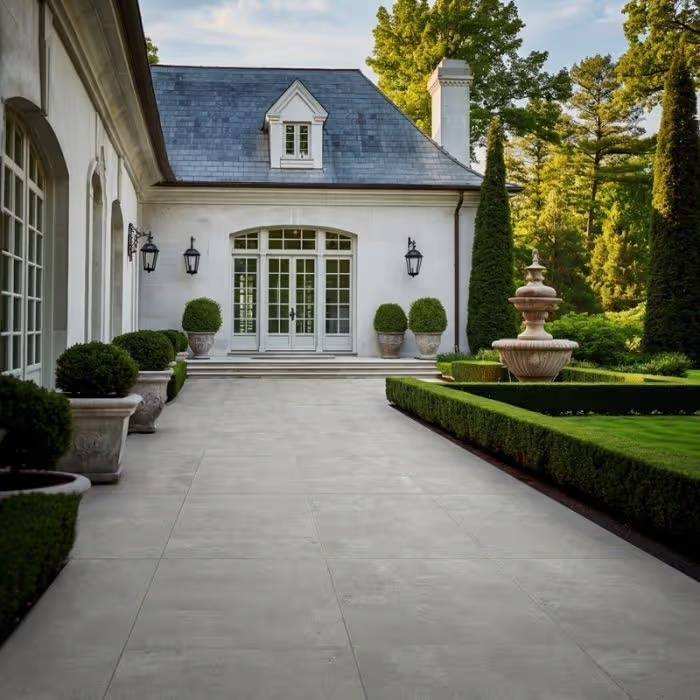
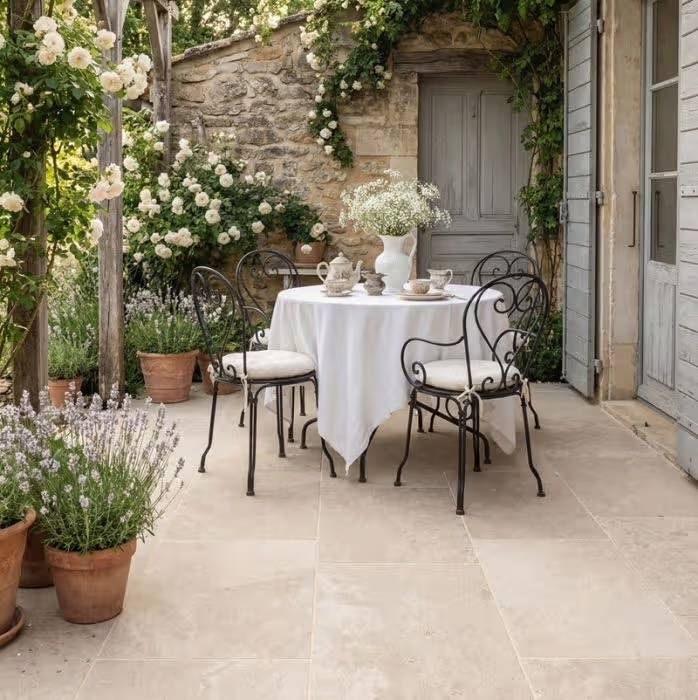
Choosing the right porcelain paving tile is the most inspiring part of your project. Our curated collections range from the ultra-modern, large-format aesthetic to designs that faithfully replicate the organic texture of natural stone. Whether you are looking for the cool, industrial tones of grey porcelain or the warmth of beige and cream porcelain paving, our tiles are selected for their superior R11 slip-resistance and incredible durability.
Find Your Perfect Style:
Stone-Effect Porcelain Paving
Capture the charm of natural materials without the high maintenance. These tiles are inspired by historic British estates and natural landscapes, offering the timeless elegance of stone with all the benefits of modern porcelain.
Contemporary & Minimalist Porcelain Paving
Perfect for sleek garden designs and urban terraces. These porcelain tiles provide a clean, uniform finish that creates a seamless transition between your home and garden.
Wood-Effect Porcelain Paving
All the warmth and character of natural timber decking, without the risk of rot, warping, or slipperiness. These are ideal for creating an inviting, organic feel on patios or balconies.

About the Author
Sian McHugh
'Sian has been working with us at Westminster Stone for over 7 years and has developed expertise in garden design and landscaping. Her passion for nature extends to tending her own garden, teaching yoga and hiking during her free time.'